Item
|
Click on the picture to enlarge
|
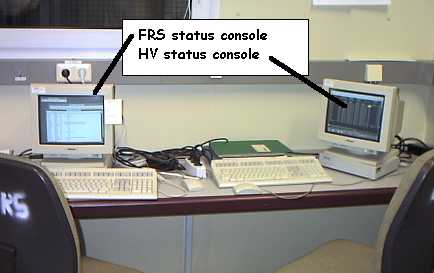
| FRS console |
 The
bottom left of the FRS console. STATUS
and AUSFALL must be normally selected.
The icons on the right hand side show the FRS elements which are turned
off. If magnets trip, for example, they will show up here (). The
bottom left of the FRS console. STATUS
and AUSFALL must be normally selected.
The icons on the right hand side show the FRS elements which are turned
off. If magnets trip, for example, they will show up here (). |
| HV console |
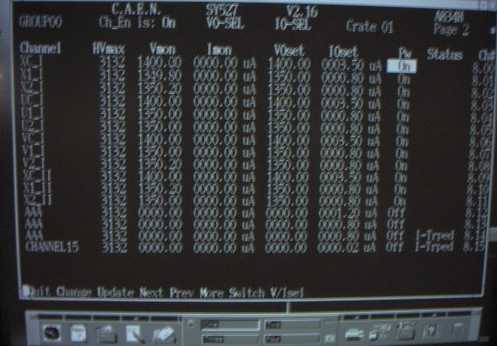 Check
frequently that all Chamber HV channels are alive. When chambers
trip, I-Trped will be shown at the
right colum.æ Note there are two pages, page 1 and page 2. Use N(ext)
and P(revious) keys to switch between
the pages. Check
frequently that all Chamber HV channels are alive. When chambers
trip, I-Trped will be shown at the
right colum.æ Note there are two pages, page 1 and page 2. Use N(ext)
and P(revious) keys to switch between
the pages. |
| SIS beam intensity |
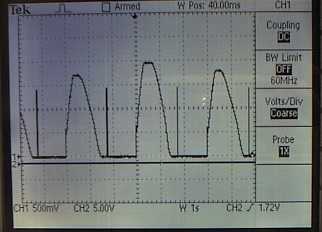 On
the tektronix scope, watch the SIS beam intensity.æ Under normal running
condition, the reading should be around 2 Volts: 1.5 V is about 1 x 10¹¹/spill. On
the tektronix scope, watch the SIS beam intensity.æ Under normal running
condition, the reading should be around 2 Volts: 1.5 V is about 1 x 10¹¹/spill. |
| Magnet |
From the S160 console, type
PAW>magnet
This shows the time variation of four FRS dipoles. Vertical lines in
each panel indicate midnight. |
| CH2 peak position |
From the S160 console, type
PAW>ch2
This shows the run number vs CH2 calibration peak position. |
| PB206 status |
From the S160 console, type
PAW>pb206
This shows the cummulative pb206 spectrum. |
| 1. close file on the tape. |
On the E7_12 console, type
E7_12 > close
E7_12 > sho acq
...
Look at the status printed, and see how much data have been written
on tape so far. The absolute maximum number of bytes written onto
tape is about 10 GBytes, but it is advised to change tapes after about
2-3 GBytes to secure our data. The tape changing procedure is described
elsewhere. |
| 2. STOP beam. |
Press the red button.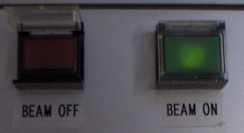 |
3. save the current histograms on disk
In the example shown, default values were accepted except for the target
number. |
On the S160 console, where the analysis PAW is running, type
PAW> save_gs
.....
last run number was 222
run number ? (<CR>=223)
target number ? (if JUNK, type j) (<CR>=71) 47
seetram in/out ? (<CR>=out)
tape number ? (<CR>=12)
filename : r71_223.hbo
target : 47
seetram : out
tape : 12
Is this OK ? [y/n] (<CR>=y) |
| 4. Complete the run sheet. |
Enter stop time, and add remarks if any.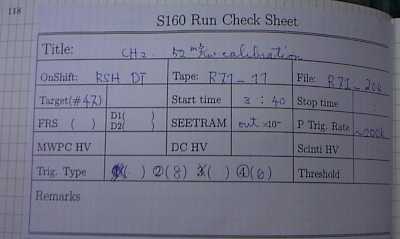 |
| 4. reset "global section" |
On the S160 console, where the analysis PAW is running, type
PAW> greset 0
Occasionally, PAW crashes when you do this, but don't panic. In
such a case, restart paw, and do "greset 0" again. |
| 1. Make sure that the beam is off. |
Do it again! |
| 2. "Eingabe" |
Usually, "status" display is selected on the FRS console.In this mode,
target cannot be moved. First click "Eingabe" on the left-most column,
and also click "Ausfall" twice, both with the left button of the mouse.  |
The screen should now look like this. |
| 3. Activate "ET5" |
ET5 is our target holder. To activate it, first click around "TS11"
on top of the console screen (see the right figure: the mouse cursor is
now near "TS11").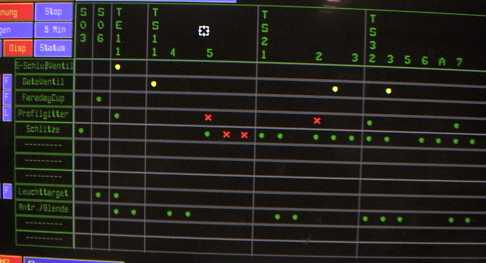 |
Now, "ET5" icon should appear at the bottom of the screen. Click
this icon. A new window for target selection should pop up on the screen. 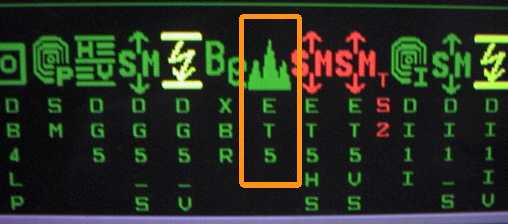 |
| 4. Choose your target |
Scroll through the target list, and click on the line where the desired
target is shown. The selected line becomes highlited. Then hit the
"Uebername" button. This activates the target motor status/control
window. 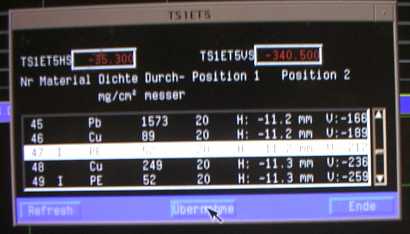 |
| 5. Wait for the target drive motor to stop. |
Shown here is the target motor status/control window. wait until the
motors (both horizontal and vertical) have stopped, and the target position
indicators show the correct coordinates. When you confirm this, you can
dismiss the two windows by clicking on the "ENDE" button.  |
| 6. Restore the "status" display. |
It is always a good idea to restore the "status" display. Clock on
the "Status" button and "Alle" button to do this. |
| 1. Check everything is OK. |
-
correct target?
-
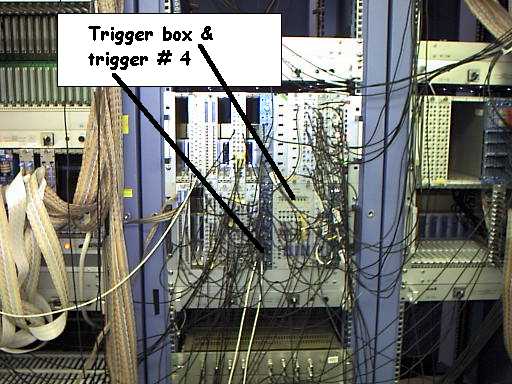
trigger condition OK? (#2/256 + #4 for production runs)
-
chamber HV not tripped?
-
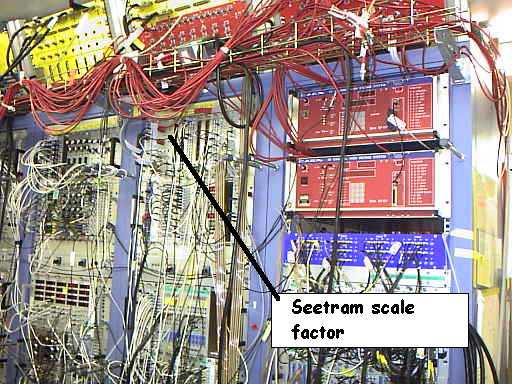
seetram counter out?
-
magnets not tripped?
-
tape remaining space OK?
-
was the global section (save_gs) of the previous run saved?
|
| 2. Beam on |
Push the "green" button. |
| 3. open a new file on tape |
On the E7_12 console, type, for example (for run 206),
E7_12 > open file r71_206 |
| 4. make sure the global section is already reset |
If not, just reset it again. |
| 5. Log the FRS status |
Go to the FRS status console, and type in (for run 206, for example)
SUC: GOOSY>@status 206 |
| 6. Run sheet!!! |
this is quite obvious |
| 1. Dismount tape |
On the E7_12 console, type
E7_12 > dism tape
Press "Unload Button" and wait until a green light is lit on the front panel of the tape drive.
Then, take out the tape, and WRITE PROTECT
it. The red write-protect indicator should be visible on the front of the
tape cartridge. |
| 2. Put on a label on a new tape |
Always use a tape,
and don't forget to put on a label. The label should be securely
pasted on the tape cartridge, with a clearly written tape number. |
| 3. Initialize the new tape, and mount it. |
Insert the new tape in the drive. On the E7_12 console, type, for example
(assume the new tape label is r71_13)
E7_12 > init tape r71_13
This may take a while. When the "E7_12" prompt comes back,
mount the tape
E7_12 > mount tape
The tape is now ready to use. |

